Silent Mansion Full Walkthrough
A room-by-room Roblox route from the forest spawn to the curse-breaking finale.
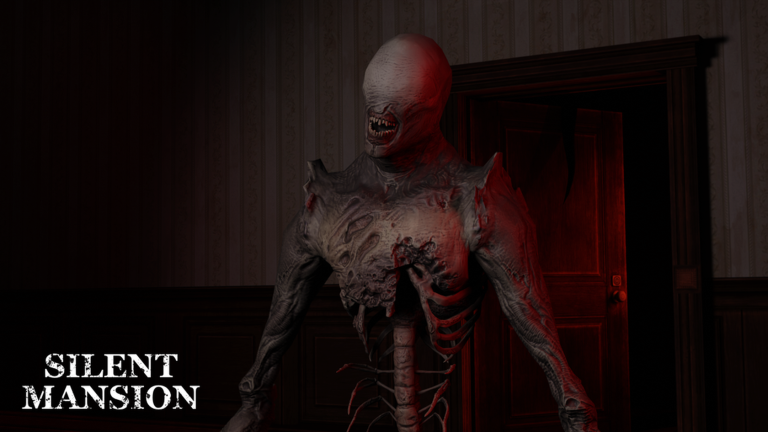
This Silent Mansion full walkthrough is written for Roblox players who want a clean route through Coffee Cap’s BETA horror experience without wasting batteries on aimless searching. Your objective is to lift the mansion’s curse by unlocking a hidden ritual room, collecting three books, and placing each book on the cursed circle. Along the way you will manage a sound-sensitive monster, solve set-piece puzzles, and survive scripted scares such as the basement flood.
Before you commit to a long run, skim How to play Silent Mansion and lock in controls. Keep the ritual checklist nearby so you can confirm every milestone.
Enter the mansion
You spawn near a forest RV. Walk to the gate, ignore the dramatic crow framing, and continue into the estate. Turn on your flashlight when the halls darken. Shift walk once you are inside so footsteps do not advertise your position. The first major set piece happens in the dining room after lights flicker and dishes begin to float.
Dining room candle ritual
Search cabinets thoroughly. After the monologue, a cursed circle appears and floating plates escalate. Collect and place five candles:
- Fireplace mantel
- Drawers by the exit
- Tea table between sofas
- Table near the cabinet and door
- Inside the cabinet by the door
When all candles sit on the circle, the chaos settles and a journal points you upstairs to a bedroom with a hidden room. Details for candle and key props also appear in keys and candles.
Lyre melody and bedroom key
The bedroom starts locked. On the first floor near the stairs, a note explains that a lyre melody unlocks the key. Find the lyre in the ground-floor bathroom bathtub to the right of the main door. Return to the cursed-circle area, press F on your turn when the green timing bar appears, and claim the key box that spawns afterward.
Hidden ritual room
Unlock the bedroom. Grab the music-box handle from the nearby table, wind the box, and prepare for flying utensils plus a scare line. Hide in glowing spots if the monster pressure spikes. When the bookshelf slides, enter the hidden room. The journal here states the true campaign goal: gather three books for the ritual. Bookmark How to get the ritual books if you want a book-only checklist.
Office camera puzzle for Book 1
Take the office key from the box outside the bedroom. Screen shake usually means the monster is inbound—hide behind the couch or table immediately. Enter the office left of the stairs. Gather three camera lenses from the office tea table, the table in front of the stairs, and the ground-floor table near the main door. Arrange the lenses to reveal password 081, then claim Book 1. Full lens notes live in the camera puzzle guide.
Carry Book 1 to the hidden circle and place it. The circle reacts and a journal steers you toward the basement for Book 2. Before rushing outside, hide near the front-door planter if the monster is entering; wait until it heads upstairs.
Basement flood and Chill Spot
Exit through the right-side door from the main hall, loop to the backyard basement, and expect a coffin scare plus a sealed exit. The room floods; you black out and wake in a hallway. Keep walking forward to stairs—do not go down. Take the door path left into the Chill Spot, read the journal, and click the interactive book among the three bookshelves to open a hidden passage. Use the map if you lose orientation.
Library coins for Book 2
Through the passage you may see the monster on the circle—remember it is blind and can leave if you stay quiet. Find the library key in a bookshelf, carefully unlock the library upstairs, and solve the three-coin box:
- Rose coin under a library book
- Sword coin via Room 3 candle, fireplace key, Room 2 discs, and the spawned coin box
- Skull coin by setting three clocks to 12:00, unlocking Office 2
Place all coins, take Book 2, and return it to the cursed circle. Deeper steps are in Coins and clocks.
Elizabeth and Book 3
After Book 2, wake elsewhere and begin the Elizabeth sequence. Outside to the right, dig John Smith’s grave for the Death Journal, grab a candle from the basement (no flood this time), and place it on Elizabeth’s highlighted grave plate. She grants Book 3. Follow How to summon Elizabeth if any grave step is unclear.
Final ritual
Return Book 3 to the hidden circle. After the cinematic shake and monster restraint beat, walk out with the curse broken—then watch for the lingering floating utensils tease. For ending context and leftover threats, finish with How to beat Silent Mansion and keep an eye on Updates while the BETA evolves.
If you only needed visual pacing, the embedded walkthrough video above mirrors this route. Pair it with survival tips whenever the monster starts punishing loud mistakes.
Frequently Asked Questions
Quick answers to the most common Silent Mansion questions.
What is the Silent Mansion camera password?
After collecting three lenses, the password is 081. See the camera puzzle page.
Where is the lyre?
In the ground-floor bathroom bathtub to the right of the main door. Play it near the cursed circle with F.
How many books do I need?
Three. Track them with How to get books and the ritual checklist.
What happens in the basement?
A coffin scare and flood knock you out. Continue to the Chill Spot and bookshelf passage as described above.
Is this walkthrough spoiler-heavy?
Yes—it is a full route. Use puzzle-only pages if you want lighter hints.